Last time I posted, I showed you this:
And I claimed that I had some big plans for it...oh yes, indeed!
It is with a sigh of relief that I can post an update on my progress.
Here it is in stages:
1) This is really an ugly, old milk can.
I cannot even remember where it came from. I'm thinking maybe it was in an old garage in our backyard when we bought our house. (The garage was a remnant of an old, 3 story barn that sat upon the hillside behind our home, long before our arrival upon the scene. We're told it had entrances on 2 levels. Sadly, that garage met its demise the day one of its stone walls collapsed--the result of an overly industrious groundhog undermining its foundation. That also happened to be the very same day my cat nearly died in surgery and our daughter broke her arm rollerskating!
Ever have one of those days?!)
Good grief, I digress! Where was I?
The milk can-- it is terribly dented, and horribly rusted; it has been painted over several times. The bottom is rusted and distended to the point where it will not stand flat anymore. (You, nor anyone else, will
not be seeing that!) I cannot imagine what makes an old milk can bulge like that? Perhaps water froze and expanded inside there?
2) The milk can needed a paint job!
Christmas
red was in order.
(Please forgive the photo quality--quickly taken with my phone.) It's amazing how many flaws a good can of spray paint can cover! Remember, I'm not talking sophisticated restoration here--we're just skirting along by the skin of our teeth....
(Is that not one of the weirdest sayings ever?!)
It looks like I forgot a part, doesn't it?!
3) When you use decal paper, it will not transfer onto a dark background. I have no idea why exactly; I just go with it (and it wasn't a suitable project for a modpodge transfer, in my opinion). Therefore, I had to paint a white background the same size as the design I was planning to affix.
Here it is with a white rectangle suspiciously the approximate size of an 8 1/2" x 11" piece of paper.
4) I downloaded this antique postcard from the
Graphics Fairy. (I'm developing a serious girlfriend crush on this woman--her site is so amazingly fun to delve into!)
 |
This scene reminds me of Mr. P and myself
with our daughter when she was little.
Yep, we looked just like that! |
With my computer, I enlarged it to fit onto a sheet of decal paper (8 1/2" x 11" standard size).
5) Miraculously (from
my point of view) it fit into the white space provided! And because the decal is initially pliable after you remove the paper backing (and before it dries), I could adjust and straighten it, while also making it adhere nicely to what is definitely an uneven surface. I'd like to be able to show you a photo of this phase, but it's kind of intense-hands-on for that brief period; and I was alone. Nobody to man the camera....
So far, so good!
6) Let's put it outside, where it belongs!
 |
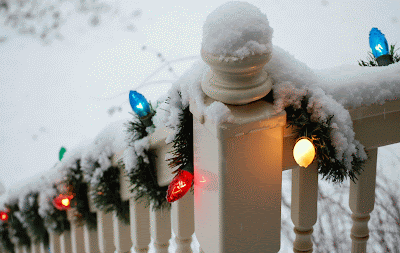
| It was actually snowing when I snapped the picture! |
The greenery is actually some of those mini LED lighted stalks, made to look natural (
well, as natural as lighted up plants would look, I suppose).
Here's the final version of how the front porch now looks.
Thanks for looking!
P.S. That's not my cat!


